Ethernet Interface (XEP Series)
The XEP-series modules (XEP01L and XEP01R) provide a 10/100BASE-T Ethernet interface through an RJ45 connector. Communication is handled by an integrated Tibbo network controller.
Pin Assignment

Connect the network cable to the standard 8P8C (RJ45) socket.
| Pin | Signal | Description |
|---|---|---|
| 1 | TX+ | Transmit Data + |
| 2 | TX- | Transmit Data - |
| 3 | RX+ | Receive Data + |
| 4 | N.C. | Not connected |
| 5 | N.C. | Not connected |
| 6 | RX- | Receive Data - |
| 7 | N.C. | Not connected |
| 8 | N.C. | Not connected |
- Speed: 10/100 Mbit/s with auto-negotiation
- Cable: CAT5 or better Ethernet patch cable
Basic Circuit Diagram
| Module | Figure |
|---|---|
| XEP01L | 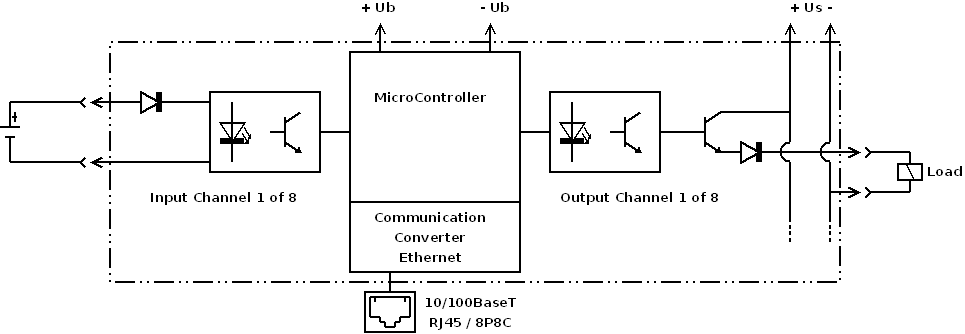 |
| XEP01R | 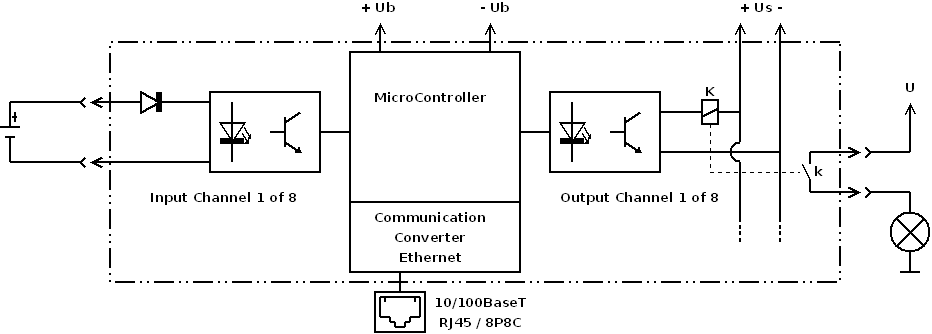 |
Integrated Web Server
The integrated web server provides access to module parameters and MFR functions.
- IP address: Assigned through DHCP or configured with MFR-Setup
- Login:
admin - Password:
admin(factory setting)
Security Note
Change the factory credentials before placing the module on an untrusted network. Store the new credentials securely; the web interface cannot be accessed without them.
Remote Control Mode (RTU)
XEP modules support an autonomous remote-control mode ("tunneling") that mirrors signals over the network from Module A's inputs to Module B's outputs.
- Setup: Give each module a unique IP address and configure the other module as its remote peer.
- Direct connection: When connecting two modules without a network switch, use a crossover cable no longer than 100 m.
- Connection monitoring: The modules exchange a synchronization signal every five seconds. If the signal is lost, for example because of a cable break, the outputs return to the inactive state (restart interlock).
Available Modules
| Module | Image | Shop Link |
|---|---|---|
| XEP01L | 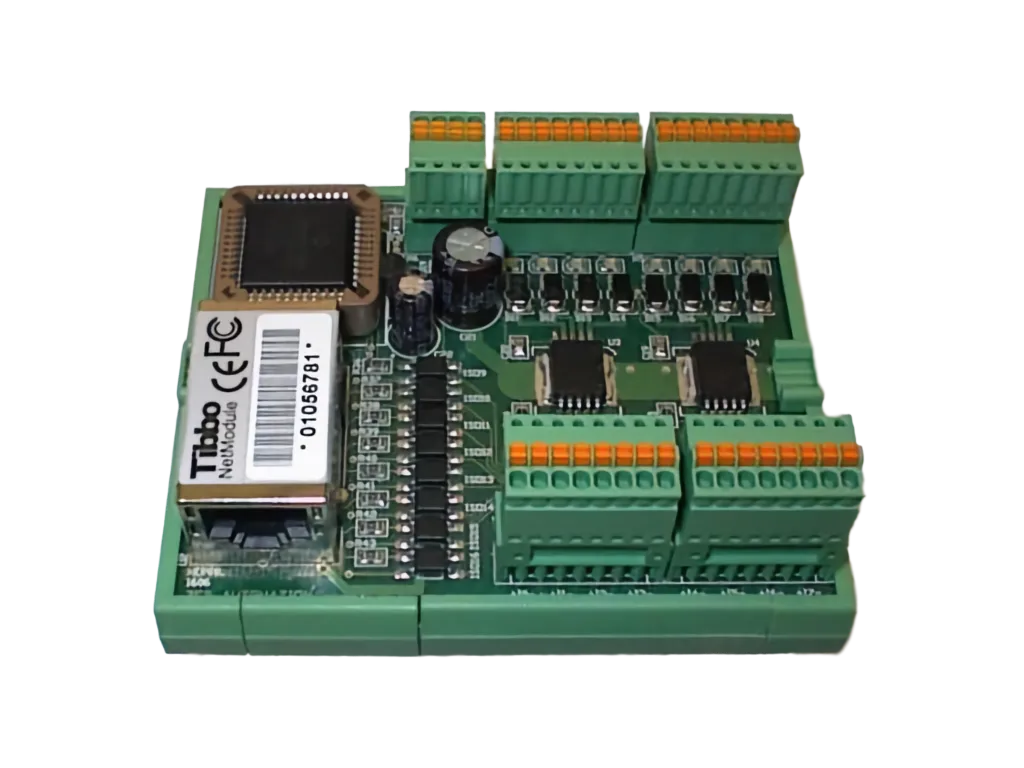 | Webshop |
| XEP01R | 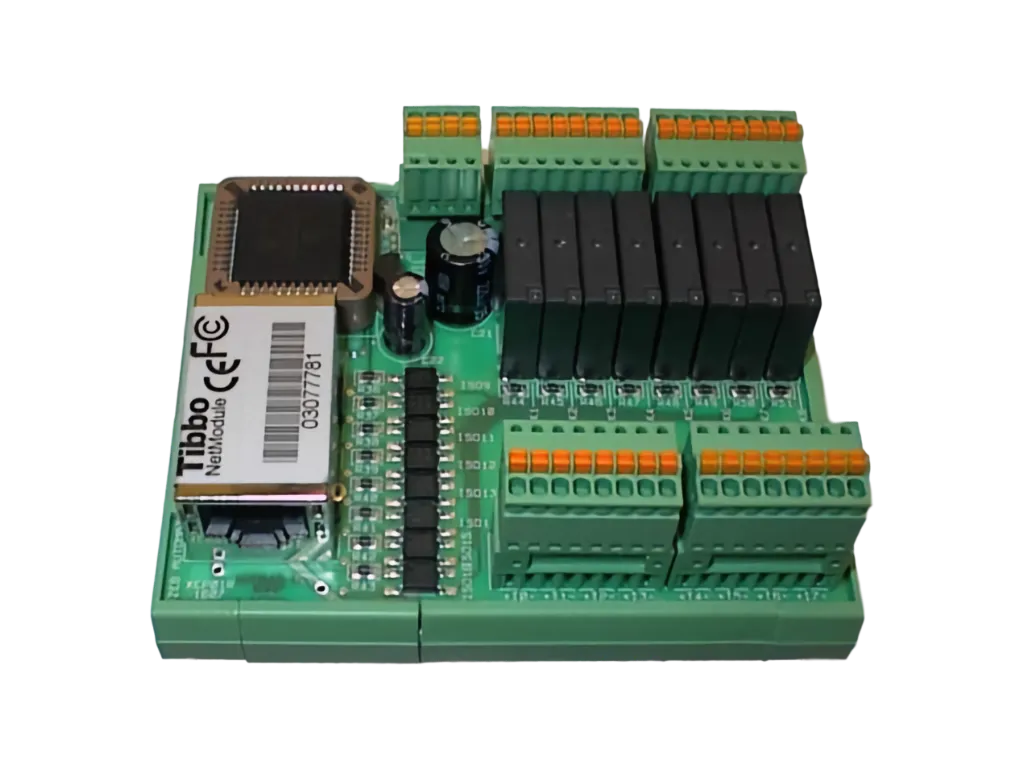 | Webshop |